
Your team sounds far away because your speakerphone isn’t placed correctly. Poor placement, like positioning it too far from everyone or near reflective surfaces, causes muffled or distant audio. Avoid hard surfaces, ensure the device faces the main speakers, and stay central in the room. Adjusting placement and room setup can dramatically improve sound clarity. Keep exploring tips to find the perfect spot and avoid common mistakes for better conference call audio.
Key Takeaways
- Proper placement near the main speakers and away from walls reduces sound reflections and echo, improving clarity.
- Position the microphone at an appropriate distance—too far causes distant, muffled audio.
- Avoid placing the speakerphone near noisy objects or hard surfaces that reflect sound and cause muffling.
- Ensuring the microphone is aimed toward speaking participants helps capture voices clearly and directly.
- Testing and adjusting the speakerphone position based on room acoustics prevents sound from sounding “far away.”
Why Speakerphone Placement Matters for Sound Quality

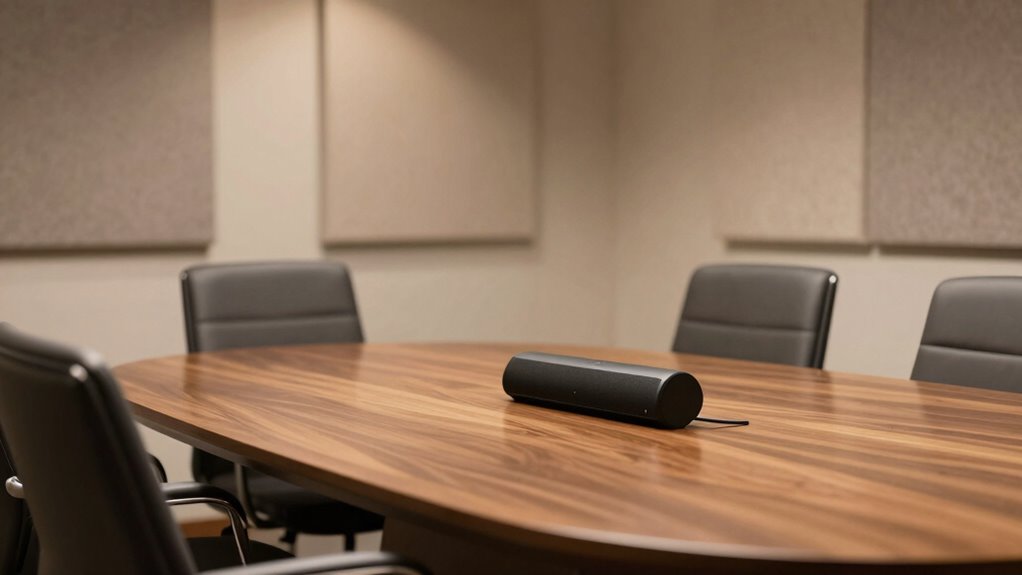
The placement of your speakerphone can considerably impact sound quality during meetings. Proper microphone placement ensures your team’s voices are clear and balanced, avoiding muffled or distant audio. If the microphone is too close to a speaker or background noise source, it can pick up unwanted sounds, reducing overall audio quality. Conversely, placing it too far away may make voices sound faint or distant. Position your speakerphone on a flat, stable surface at the center of the table, aiming the microphone toward the main speakers. Keep it away from walls or reflective surfaces that can cause echo or distortion. Additionally, audio interference from nearby electronic devices can affect clarity, so consider minimizing such sources during calls. Being mindful of room acoustics and background noise can further enhance sound quality. Proper microphone placement techniques help ensure your audio remains crisp and intelligible. By carefully choosing where to place your speakerphone, you optimize microphone placement, which directly enhances clarity and ensures everyone’s voice is heard sharply during meetings. Recognizing device interference and implementing simple adjustments can significantly improve overall sound quality.
Common Placement Mistakes That Hurt Conference Call Audio
Many common placement mistakes can considerably degrade your conference call audio. One major error is incorrect microphone orientation, which can cause the speakerphone to pick up less sound from participants or emphasize unwanted noise. If the microphone isn’t aimed properly, voices may sound distant or muffled. Another mistake is placing the speakerphone where background noise is intense, like near open windows or busy areas. This background noise can overpower voices and make conversations difficult to hear clearly. Additionally, placing the microphone too close to a noisy keyboard or air conditioner can also distort sound quality. Proper microphone placement is essential for clear audio, as it directly affects how well voices are captured and transmitted. Ensuring your audio environment is optimized by minimizing echo and background noise can further enhance sound clarity. Using appropriate hardware designed for conference calls can help reduce these issues and improve overall sound quality. Conducting regular audio testing can also help identify and fix issues before important calls, ensuring optimal performance. Doing so helps improve clarity and makes your team sound more natural during calls. Incorporating energy-efficient hardware can further optimize your conference setup by reducing environmental impact and maintaining consistent sound quality.
How to Find the Best Spot for Your Speakerphone in Any Room
To find the best spot for your speakerphone, consider placing it where sound can travel freely without obstructions. Pay attention to room acoustics, like soft surfaces that absorb sound or hard surfaces that reflect it. Adjusting placement based on these factors will help guarantee clear, balanced audio for every call. Additionally, avoid placing the speakerphone near Free Floating objects that can cause sound distortion or interference. Keep in mind that room layout can significantly influence sound quality, so experiment with different positions to find the optimal spot. Being aware of sound reflection can further improve clarity by minimizing echo and unwanted reverberations. Understanding room acoustics can help you optimize placement by considering how various surfaces interact with sound waves.
Optimal Speaker Placement
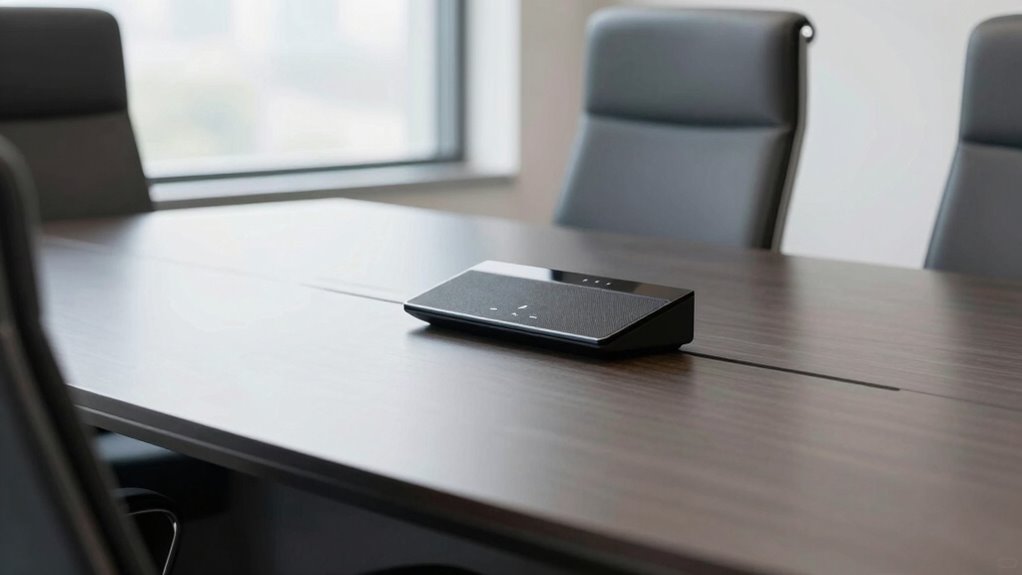
Finding the best spot for your speakerphone can greatly improve audio clarity and guarantee everyone’s voice is heard clearly. To achieve this, focus on ideal microphone positioning and speaker orientation. First, place the speaker at the room’s center to minimize sound reflections. Second, ensure the microphone is directed toward the main speaking area, reducing background noise. Third, avoid placing the speaker near walls or corners, which can cause echo and distortion. Proper speaker orientation is key: angle the device toward the participants to enhance voice pickup. Remember, positioning affects sound quality more than you might think. Adjusting these elements ensures voices are clear, natural, and balanced, preventing the “far away” sound that hampers effective communication. Additionally, understanding how sound reflects within the room can help you choose the best placement for optimal audio quality. Considering the room acoustics can further optimize speaker positioning and improve overall sound clarity. Being aware of sound reflection patterns in your environment allows for more strategic placement, reducing unwanted echoes and enhancing clarity. Recognizing the importance of acoustic environment can make a significant difference in achieving optimal audio performance. Incorporating knowledge of smart sound management can also assist in customizing settings for different room sizes and shapes, further elevating audio clarity.
Room Acoustic Factors
Room acoustics play a significant role in how well your speakerphone performs, regardless of perfect placement. Hard surfaces like glass or bare walls reflect sound, causing echo and making voices seem distant or distorted. To improve clarity, use soundproofing techniques such as placing rugs, curtains, or acoustic panels to absorb excess sound waves. These adjustments help create a balanced environment where your speakerphone’s design can shine. Some speakerphone models feature built-in noise reduction and echo cancellation, but their effectiveness depends on the room’s acoustics. By minimizing reflections and background noise, you’ll ensure your team sounds clear and close, even in challenging spaces. Understanding room acoustics allows you to optimize your setup for the best conference call quality. Additionally, considering soundproofing solutions can greatly enhance overall audio clarity and acoustic treatment techniques can be tailored to your specific space. Incorporating room acoustic factors can further improve the clarity of your calls by addressing how sound interacts within the environment. Recognizing the influence of personality traits can also help in designing a space conducive to better communication.
How Room Acoustics Affect Your Conference Call Sound
The size of your room can make a big difference in how clear your call sounds. Hard surfaces like walls and floors reflect sound, causing echoes that muddle your voice. Meanwhile, furniture helps absorb sound waves, improving overall clarity during your conference calls. Additionally, choosing the right room acoustics and incorporating acoustic treatments can further reduce unwanted reflections and enhance audio quality. Proper placement of your microphone can also significantly impact sound clarity by capturing your voice directly and minimizing background noise.
Room Size Impacts Clarity
When a conference room’s size varies, it directly influences how clearly your voice comes through during calls. Larger rooms can dilute sound, making voices seem distant, while smaller spaces often enhance clarity. To optimize sound quality, consider these factors:
- Room Dimensions: Larger rooms require more powerful audio equipment to prevent voices from sounding muffled.
- Decorative Aesthetics: Choices like soft furnishings can absorb sound, improving clarity, whereas hard surfaces reflect sound, causing echo.
- Aesthetic Choices: Balancing style with acoustics is key—select decor that complements the room while supporting sound clarity.
Understanding how room size and decor influence acoustics helps you make informed decisions, ensuring your team sounds natural and professional during every call.
Hard Surfaces Amplify Echoes
Hard surfaces like glass, wood, and tile reflect sound waves instead of absorbing them, which can cause echoes and reduce clarity during conference calls. These surfaces increase sound reflection, making it harder for your microphone to isolate speech and leading to poor echo cancellation. To understand this better, consider how different materials affect acoustics:
| Surface Type | Effect on Sound Reflection |
|---|---|
| Glass, Tile | Strong reflection, amplifies echoes |
| Carpet, Upholstery | Absorbs sound, reduces echo |
| Wood | Moderate reflection, potential echo |
| Curtains | Dampens sound reflection |
Choosing softer materials or adding sound-absorbing items can help minimize echoes, improving overall call clarity.
Furniture Absorbs Sound Waves
Soft furniture such as sofas, chairs, and cushions play a vital role in shaping your room’s acoustics during conference calls. Furniture absorbs sound waves, preventing echoes and reducing overall noise. This helps keep your voice clear and focused. To optimize your space, consider these tips:
- Place furniture strategically to minimize sound reflection.
- Use soft materials to absorb more sound waves.
- Avoid large, empty areas that cause excessive echo.
Positioning Multiple Microphones for Better Coverage and Clarity
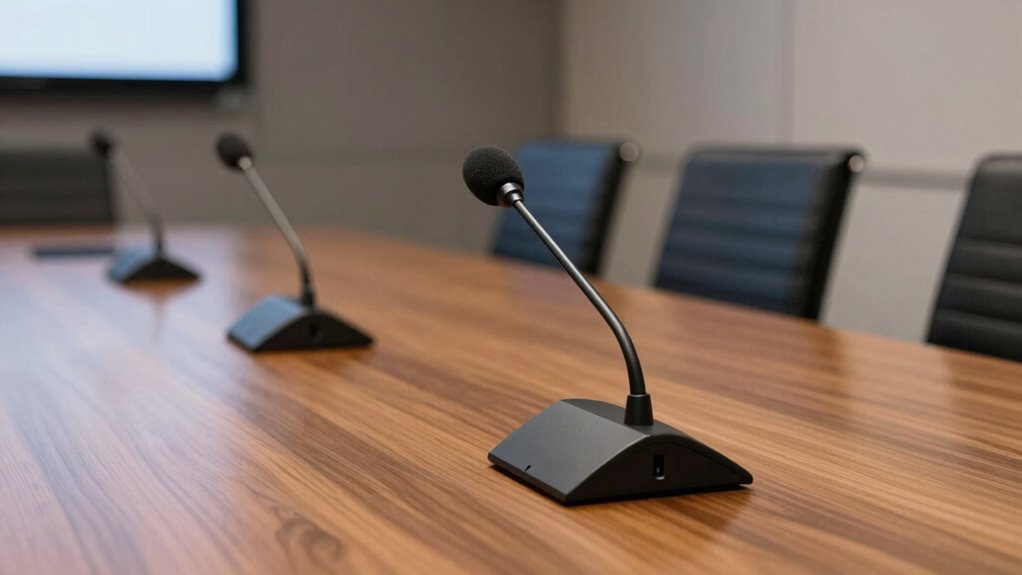
To achieve better coverage and clearer sound during a conference, placing multiple microphones strategically is vital. Using microphone arrays helps capture sound from different areas, reducing dead zones and guaranteeing everyone’s voice is heard. Position microphones at varying distances and angles to cover all participants without overlap or gaps. Remember, proper sound calibration is essential—adjust levels to balance voices and prevent one speaker from overpowering others. Avoid clustering microphones too close, which can cause phase issues or feedback, and don’t place them too far apart, risking inconsistency in sound pickup. By thoughtfully arranging multiple microphones with attention to their placement, you improve overall clarity and make certain all team members are heard clearly, regardless of where they sit in the room.
How Placement Influences Volume, Echo, and Feedback

Placement of microphones directly impacts the volume levels, echo, and feedback during a conference. If you’re too close or too far from the speakerphone, it can cause issues that make your team sound distant or muffled. Proper placement helps you control volume, reduce echo, and prevent feedback loops. Consider these key points:
Proper microphone placement ensures clear, balanced sound during conferences by preventing echo, feedback, and muffled audio.
- Speaker distance: Keep microphones at an ideal distance—neither too close nor too far—to ensure clear sound without distortion.
- Volume control: Adjust microphone placement to naturally manage volume, avoiding the need for constant electronic adjustments.
- Echo and feedback: Place microphones away from reflective surfaces and speakers to minimize echo and prevent feedback issues.
How to Test and Adjust Your Speakerphone Setup in Different Room Sizes

To guarantee clear sound, you need to test your speakerphone in rooms of different sizes. Adjust the placement based on the space and listen for echoes or muffled audio. Using these tips, you can optimize your setup for any room size.
Room Size Considerations
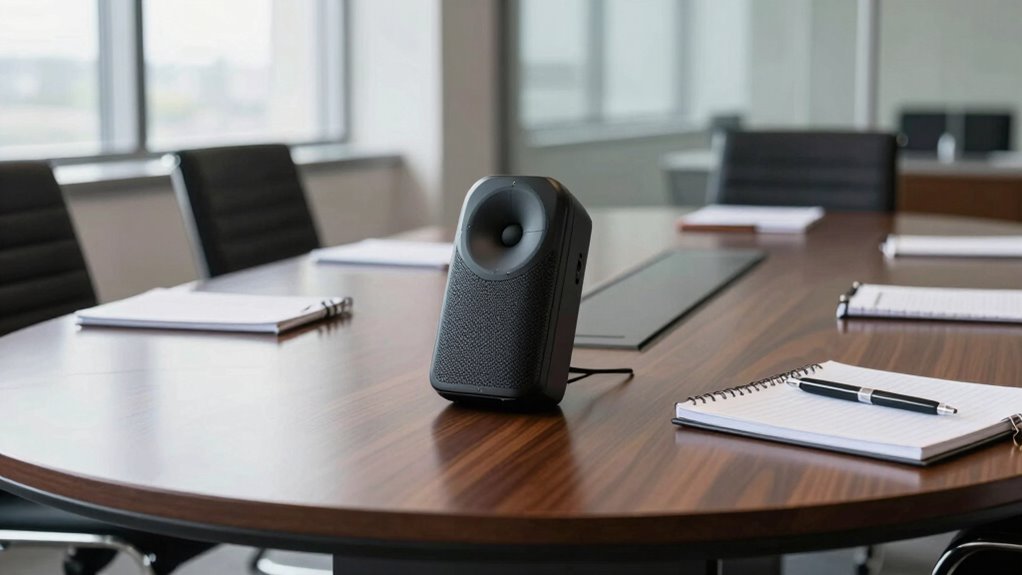
Adjusting your speakerphone setup for different room sizes is essential to guarantee clear audio quality. Larger rooms may require you to modify the speaker orientation to direct sound toward participants, minimizing echo and dead spots. For smaller rooms, reducing microphone sensitivity helps prevent capturing unwanted background noise. To optimize your setup:
- Adjust speaker orientation to ensure sound reaches all participants evenly.
- Test microphone sensitivity to find the right balance between clarity and noise suppression.
- Evaluate room acoustics by speaking at different distances and listening for muffling or echo.
Testing and Adjustment Tips
Testing your speakerphone setup is the best way to guarantee clear audio during meetings. Start by evaluating the speakerphone ergonomics—confirm the device is positioned at an appropriate height and angle for all participants. Adjust the microphone sensitivity to pick up voices clearly without capturing background noise. In smaller rooms, reduce sensitivity to prevent distortion, while larger spaces might require increasing it to ensure everyone’s voice is captured. Conduct a quick test call, speaking from different locations within the room, to identify dead spots or echoes. Listen carefully for sound clarity and volume. Fine-tune the placement and settings iteratively until your team sounds natural and focused. Regular testing ensures your setup remains optimized for any room size or configuration.
Using Visual Cues and Guides to Improve Speakerphone Placement
Using visual cues and guides can considerably enhance your speakerphone placement, ensuring clearer audio and more effective communication. These tools help you position the device accurately, reducing muffling and distant sound issues. Consider these three key steps:
Visual cues and guides improve speakerphone placement for clearer, more effective communication.
- Use visual cues like floor markings or tape to mark *best* placement spots, making consistent positioning easier.
- Implement placement guides such as stand height or distance indicators to maintain proper distance from microphones and speakers.
- Arrange your workspace so visual cues are easy to see, enabling quick adjustments and ensuring the speakerphone stays in the *ideal* spot.
What to Do When Your Conference Call Sound Is Still Distant or Muffled
Even with proper speakerphone placement, you might still experience distant or muffled sound during your conference calls. To fix this, check your microphone sensitivity settings; increasing sensitivity can help pick up voices more clearly. Confirm your wireless connectivity is stable—weak signals cause audio disruptions. If sound remains muffled, try repositioning the speakerphone closer to the main speakers or speaking directly into the microphone. Also, verify that no objects block the microphone’s pickup area. Use the following quick reference:
| Issue | Solution | Tip |
|---|---|---|
| Distant sound | Increase microphone sensitivity | Adjust in device settings |
| Muffled audio | Reposition closer to speakers | Keep microphone unobstructed |
| Wireless issues | Improve Wi-Fi or Bluetooth connection | Use a wired connection if possible |
| Persistent problems | Restart device or reset network connections | Ensure firmware is up-to-date |
Best Practices for Maintaining Clear Audio During Conference Calls

Maintaining clear audio during conference calls requires consistent attention to your setup and habits. First, ensure your microphone is correctly directed; position it towards the speaker’s mouth, not away or at an angle. Second, regularly calibrate your speaker system to optimize sound quality, adjusting volume and equalization settings. Third, avoid moving around or talking too far from the microphone, as inconsistent placement can cause muffled or distant audio. Additionally, test your setup before calls to confirm clarity and volume levels. Proper microphone direction and speaker calibration are key to guaranteeing everyone’s voice is heard clearly. By following these practices, you minimize background noise and prevent sound from sounding “far away,” creating a more effective communication environment.
Frequently Asked Questions
How Does Room Size Impact Speakerphone Placement Choices?
Room size greatly impacts your speakerphone placement choices because larger rooms require careful consideration of room acoustics and speaker orientation. In bigger spaces, you should position the speakerphone closer to the center to minimize echo and ensure clear sound. Adjust the orientation to face the team directly, reducing sound loss. Proper placement helps overcome room-related challenges, making sure everyone’s voice comes through crisp and clear, regardless of the room’s size.
Can Furniture Placement Affect Conference Call Audio Quality?
Furniture placement can substantially affect your conference call audio quality. Studies show that proper acoustic treatment improves sound clarity by up to 50%. You should position furniture to minimize sound reflections and avoid blocking the microphone. Keep the microphone placement clear of clutter, ensuring it captures voices directly. Rearranging furniture to reduce echo and optimize speakerphone placement helps your team sound more present and engaged during calls.
What Are the Signs of Poor Speakerphone Positioning During Calls?
You’ll notice signs of poor speakerphone positioning, like persistent echo chambers and muffled sound. If voices sound distant or distorted, it indicates echo reduction issues. You might also hear echoing feedback or observe uneven audio levels. These problems happen when the speakerphone isn’t placed correctly, causing sound to bounce around and create an echo chamber. Adjust the placement, keep it closer to everyone, and make certain it’s on a stable surface for clearer, more natural audio.
How Often Should I Reposition My Speakerphone for Optimal Sound?
You should reposition your speakerphone whenever you notice poor audio quality or if participants struggle to hear clearly. Regularly adjusting it guarantees ideal sound, considering microphone sensitivity and speaker directionality. Keep the microphone facing the group and avoid placing it too close or too far. Repositioning every 15-30 minutes or when the room setup changes helps maintain clear communication and prevents sound from sounding distant or muffled.
Do Different Conference Call Scenarios Require Different Placement Strategies?
Imagine your conference room as a stage; different scenes demand different lighting. Yes, varied call scenarios require tailored placement strategies. Adjust your microphone orientation to focus on the speaker, and consider background noise levels—closer placement helps drown out distractions. For larger rooms, position the speakerphone centrally, while in small spaces, keeping it close ensures clear sound. Adapting your placement fosters a crystal-clear performance every time.
Conclusion
Remember, the right speakerphone placement can transform your conference calls from distant echoes to clear conversations. It’s like tuning a musical instrument—small adjustments make a big difference. While room acoustics and positioning can seem technical, they’re your allies in achieving crystal-clear sound. Don’t let poor placement drown your message; instead, use these tips to bring everyone closer—even when you’re miles apart. Clear audio isn’t just setup; it’s your team’s connection.