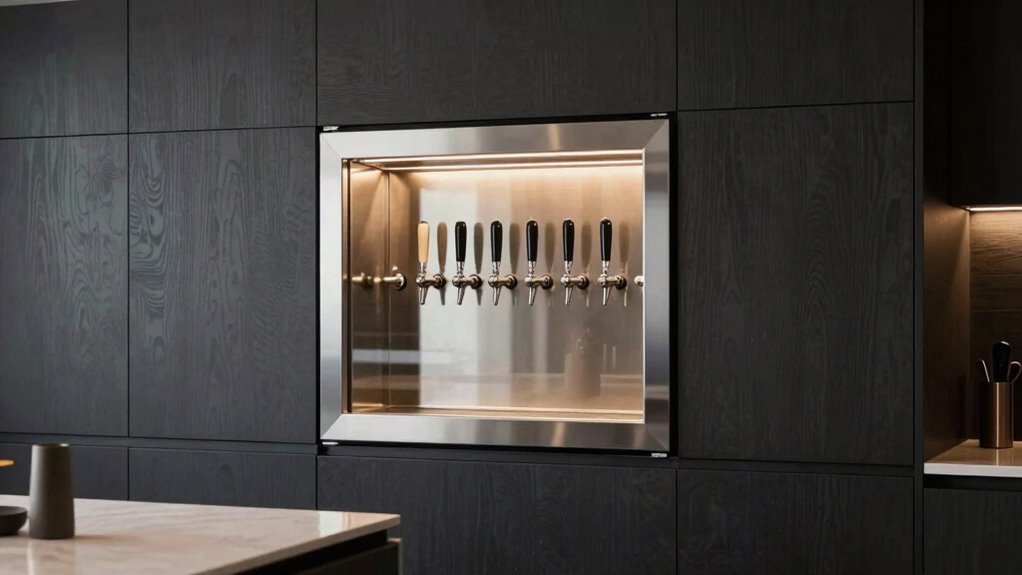

Installing a built-in kegerator instantly boosts your home’s style and impresses guests, but proper ventilation is key to maintaining that upgrade’s status. Without enough airflow, the unit can overheat, become noisy, and wear out faster, ruining the sleek look you want. Good ventilation keeps everything running smoothly, preserves beer quality, and guarantees quiet operation. Keep these tips in mind to make your setup truly stand out — there’s more to learn for lasting success.

Get the latest gadgets delivered free with Prime
- Fast, free delivery on millions of items
- Prime Video, Amazon Music and more included
- Member-only deals all year
Key Takeaways
- Proper ventilation prevents overheating, ensuring the kegerator operates efficiently and maintains a premium appearance.
- Adequate airflow supports quick, reliable installation by avoiding heat-related delays.
- Good ventilation reduces noise and energy consumption, enhancing overall setup appeal and functionality.
- Ignoring ventilation can cause equipment failure, delaying status recognition and compromising the built-in look.
- Well-ventilated units maintain consistent temperature, essential for serving fresh, high-quality draft beer quickly.
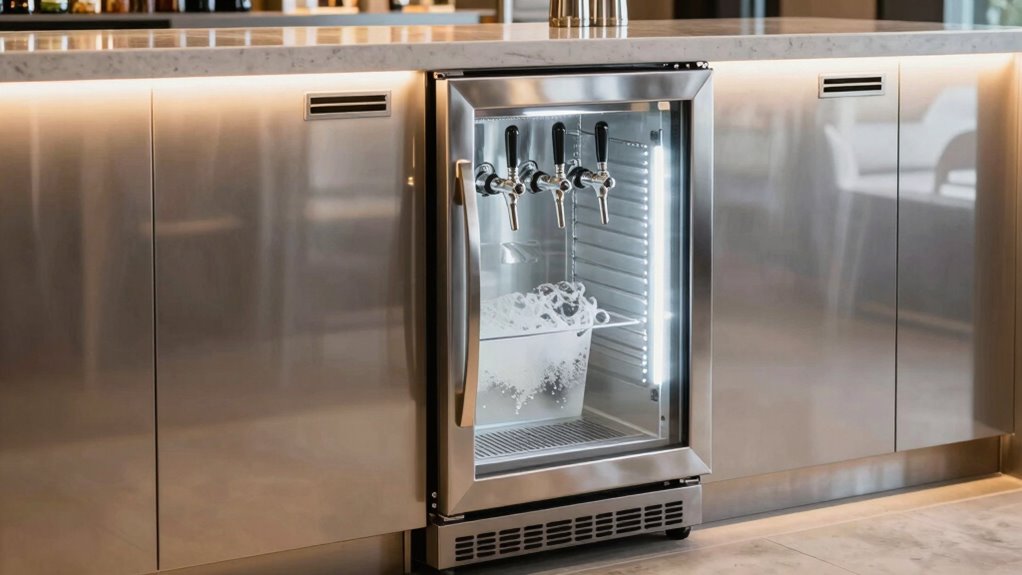
If you want to elevate your home bar and impress guests quickly, built-in kegerators are an excellent choice. These sleek, integrated units instantly add a touch of sophistication and make serving fresh draft beer effortless. However, to truly maximize their appeal and functionality, you need to focus on proper kegerator installation. Skipping or rushing this step can lead to issues like uneven temperature, excessive noise, or even equipment failure. When installing your built-in kegerator, pay close attention to the space you choose—make sure it’s designed for built-in units, with enough clearance for airflow and maintenance. Follow the manufacturer’s instructions carefully, and consider hiring a professional if you’re unsure, as a proper installation guarantees peak performance and longevity.
One critical aspect often overlooked in kegerator installation is ventilation. Ventilation importance can’t be overstated, especially with built-in models, because they generate heat during operation. Without proper airflow, heat can accumulate around the unit, causing it to work harder and potentially overheat. This not only shortens the lifespan of your kegerator but can also lead to temperature fluctuations that compromise the freshness of your beer. To prevent this, ensure your installation spot has sufficient ventilation space, either through built-in ventilation grilles or by leaving gaps around the unit. Some models come with built-in fans, but even then, the surrounding environment should support good airflow. Additionally, understanding the heat generation process of your appliance can help you plan the optimal setup.
Beyond the technical side, good ventilation also contributes to quieter operation and energy efficiency. When heat is effectively dissipated, your kegerator runs smoother and consumes less power, saving you money in the long run. Neglecting ventilation can turn your sleek, stylish setup into a source of constant noise or even cause overheating, which might damage internal components. Remember, your goal is to create a seamless, attractive addition to your home bar that functions reliably and looks impressive. Proper kegerator installation, combined with mindful attention to ventilation, ensures your built-in unit operates at peak performance while adding that coveted status symbol to your space. Don’t underestimate the importance of airflow—it’s the key to maintaining the cool, modern vibe you’re aiming for.
built-in kegerator ventilation fan
As an affiliate, we earn on qualifying purchases.
As an affiliate, we earn on qualifying purchases.
Frequently Asked Questions
How Do I Choose the Right Ventilation System for My Built-In Kegerator?
To choose the right ventilation system for your built-in kegerator, focus on guaranteeing proper airflow and maintaining ventilation aesthetics. Opt for a system that promotes efficient kegerator airflow without disrupting your kitchen’s design. Consider hidden or integrated vents that blend seamlessly with your cabinetry. Proper ventilation prevents overheating and ensures ideal performance, so select a system that balances functionality and aesthetics to keep your kegerator running smoothly and looking great.
What Are Common Ventilation Mistakes to Avoid During Installation?
Think of ventilation as the breath of your kegerator; poor choices can suffocate its performance. Avoid blocking vents during installation and neglecting proper airflow, which hinders heat dissipation. Incorrect kegerator placement—like fitting a square peg in a round hole—disrupts airflow efficiency. Make sure vents are clear, and your unit is positioned to promote even air circulation, preventing overheating and maintaining ideal beer quality.
Can Poor Ventilation Affect Beer Quality and Longevity?
Poor ventilation definitely affects beer quality and longevity. When airflow efficiency is compromised, heat and humidity build up, causing temperature fluctuations that can spoil your beer. A good ventilation design guarantees proper heat dissipation, maintaining consistent temperatures. Without it, your kegerator’s components may overheat or accumulate moisture, leading to stale or off-tasting beer. Prioritize proper ventilation to preserve the freshness, flavor, and lifespan of your beer.
Are There Specific Ventilation Requirements for Different Kitchen Styles?
Yes, ventilation requirements vary with kitchen styles. For modern or decorative kitchens, you should incorporate decorative exhaust systems that blend seamlessly with the design. In contrast, traditional kitchens may prioritize airflow optimization with functional vents. You need to assess your kitchen’s layout and choose ventilation solutions that guarantee proper air circulation, prevent moisture buildup, and maintain beer quality. Tailoring your ventilation approach helps protect your appliances and enhances overall kitchen performance.
How Often Should I Inspect and Maintain Ventilation Components?
You should inspect and maintain your ventilation components at least once every three to six months. During these checks, clean or replace air filters to guarantee ideal air filter maintenance. Regularly verify airflow to prevent blockages and boost ventilation efficiency. By staying on top of these tasks, you’ll enhance airflow, reduce odors, and keep your kitchen environment fresh and safe. Consistent maintenance is key to preventing costly repairs and ensuring smooth operation.
kegerator installation ventilation grille
As an affiliate, we earn on qualifying purchases.
As an affiliate, we earn on qualifying purchases.
Conclusion
As you install your built-in kegerator, remember that a well-ventilated space isn’t just about keeping things cool—it’s about elevating your entire setup. Sometimes, the best details happen by chance, like a perfect breeze that keeps your setup shining. When ventilation aligns with style, your kegerator becomes more than just a statement piece; it’s a reminder that the smallest details often make the biggest difference. Sometimes, the right airflow is just what your space needs to truly shine.
As an affiliate, we earn on qualifying purchases.
As an affiliate, we earn on qualifying purchases.
Halloween Picks
halloween
As an affiliate, we earn on qualifying purchases.